10XHealthSystem
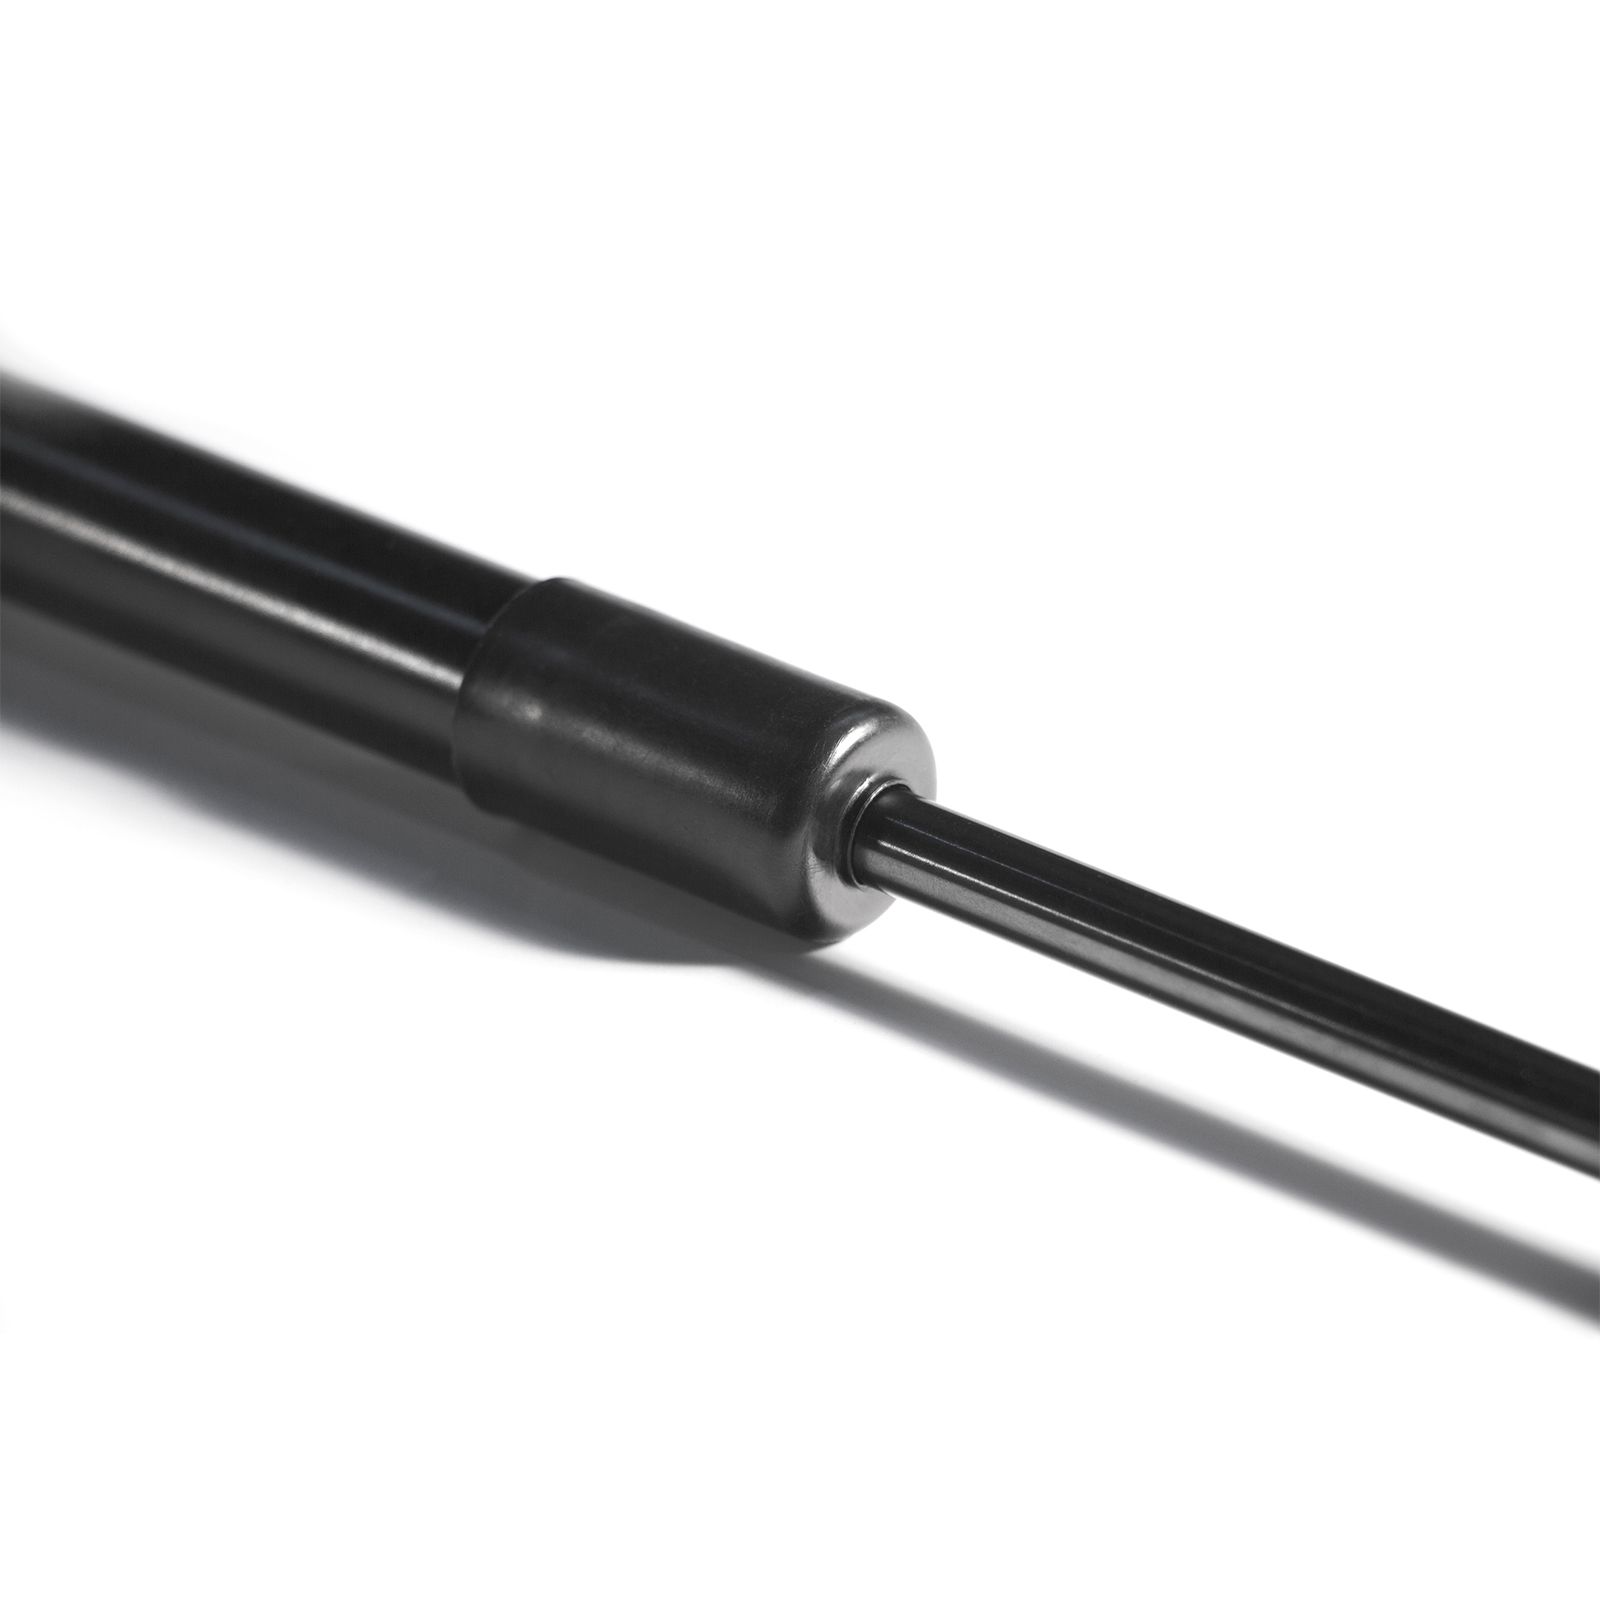
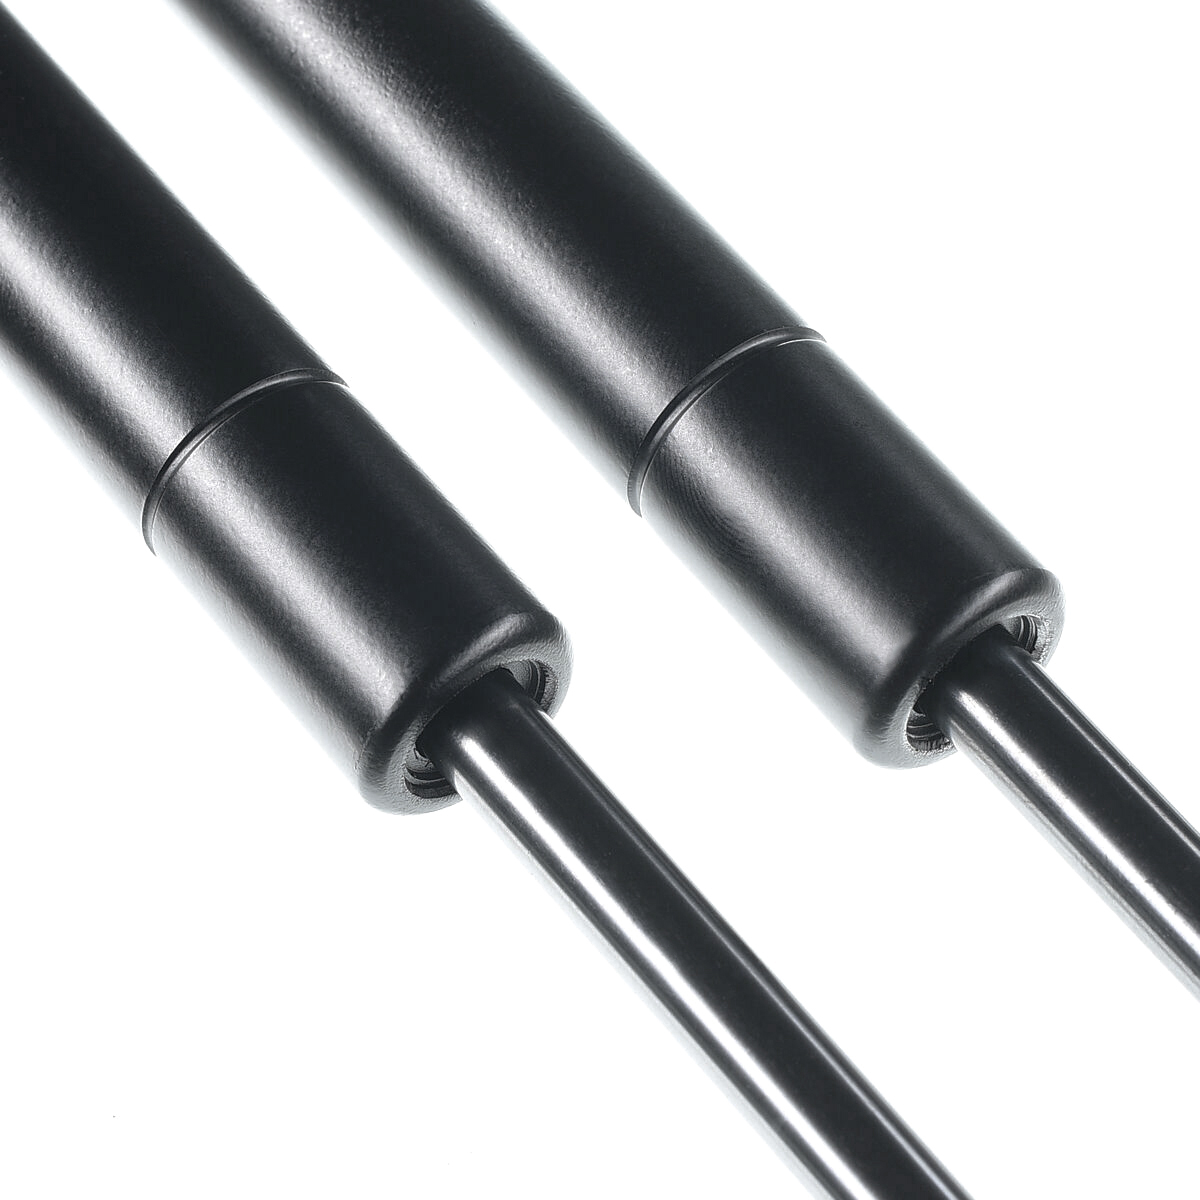
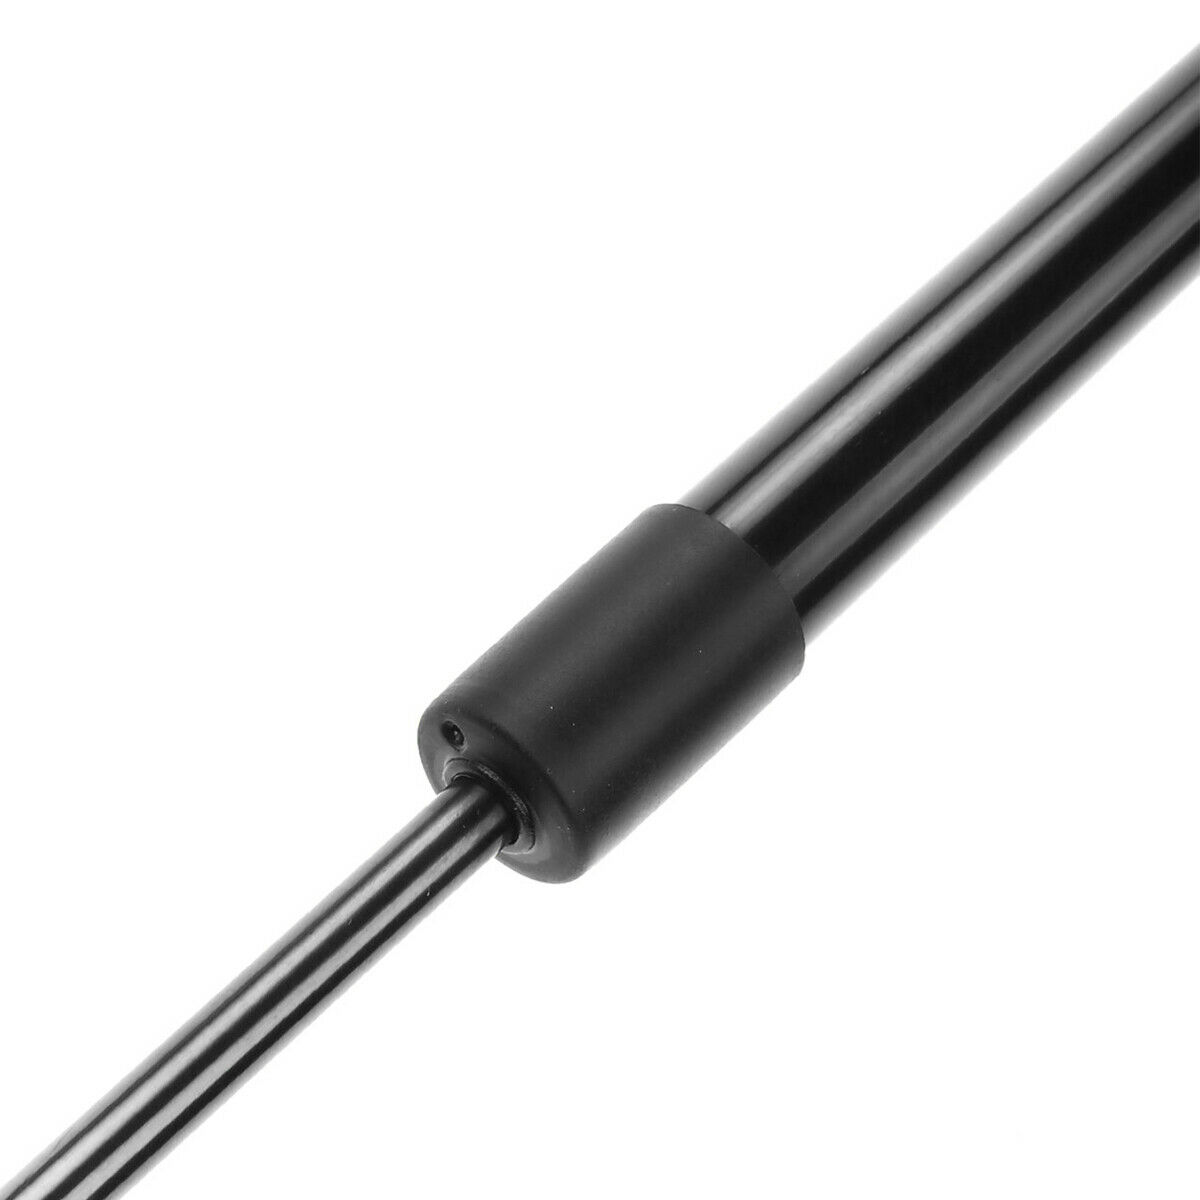
2 Sets Of - Front Hood Bonnet Gas Lift Supports Strut Shocks Fit Explorer Mountaineer
2 Sets Of - Front Hood Bonnet Gas Lift Supports Strut Shocks Fit Explorer Mountaineer
Couldn't load pickup availability
| Brand | nan |
|---|---|
| Manufacturer Part Number | Set of 2 Pair Passenger Driver Side |
| Interchange Part Number | SG404020 |
| Other Part Number | New Charged Damper Spring Prop Rod Arm Black Steel |
| Placement on Vehicle | Front,Left,Right |
| Surface Finish | Polished |
| Warranty | Yes |
| Country of Manufacture | China |
| Manufacturer Part Number | Set of 2 Pair Passenger Driver Side SG404020 4026 |
| Interchange Part Number | SG404015 WGS-147 LSC-0147 8195684 F4067 F95309 |
| Brand | Unbrand |
| Manufacturer Part Number | OD61001278 |
| Interchange Part Number | F67Z16C826AA,8195684,901340,F95309,F4067,72811 |
| Other Part Number | Charged Arms Damper Prop Spring Rod Pair |
| Warranty | 2 Year |
| Product Type | Struts |
| Color | Black |
| Bundle Listing | Yes |
| Fitment Type | Direct Replacement |
| Superseded Part Number | 41228 |
2 Sets of - Front Hood Bonnet Gas Lift Supports Strut Shocks Fit Explorer Mountaineer
Every set can be described as following:
Fitment:
2001-2005 Ford Explorer Sport Trac
1991-2001 Ford Explorer
2002-2003 Ford Explorer 2-Door Models Only
1997-2001 Mercury Mountaineer
Item-offered:
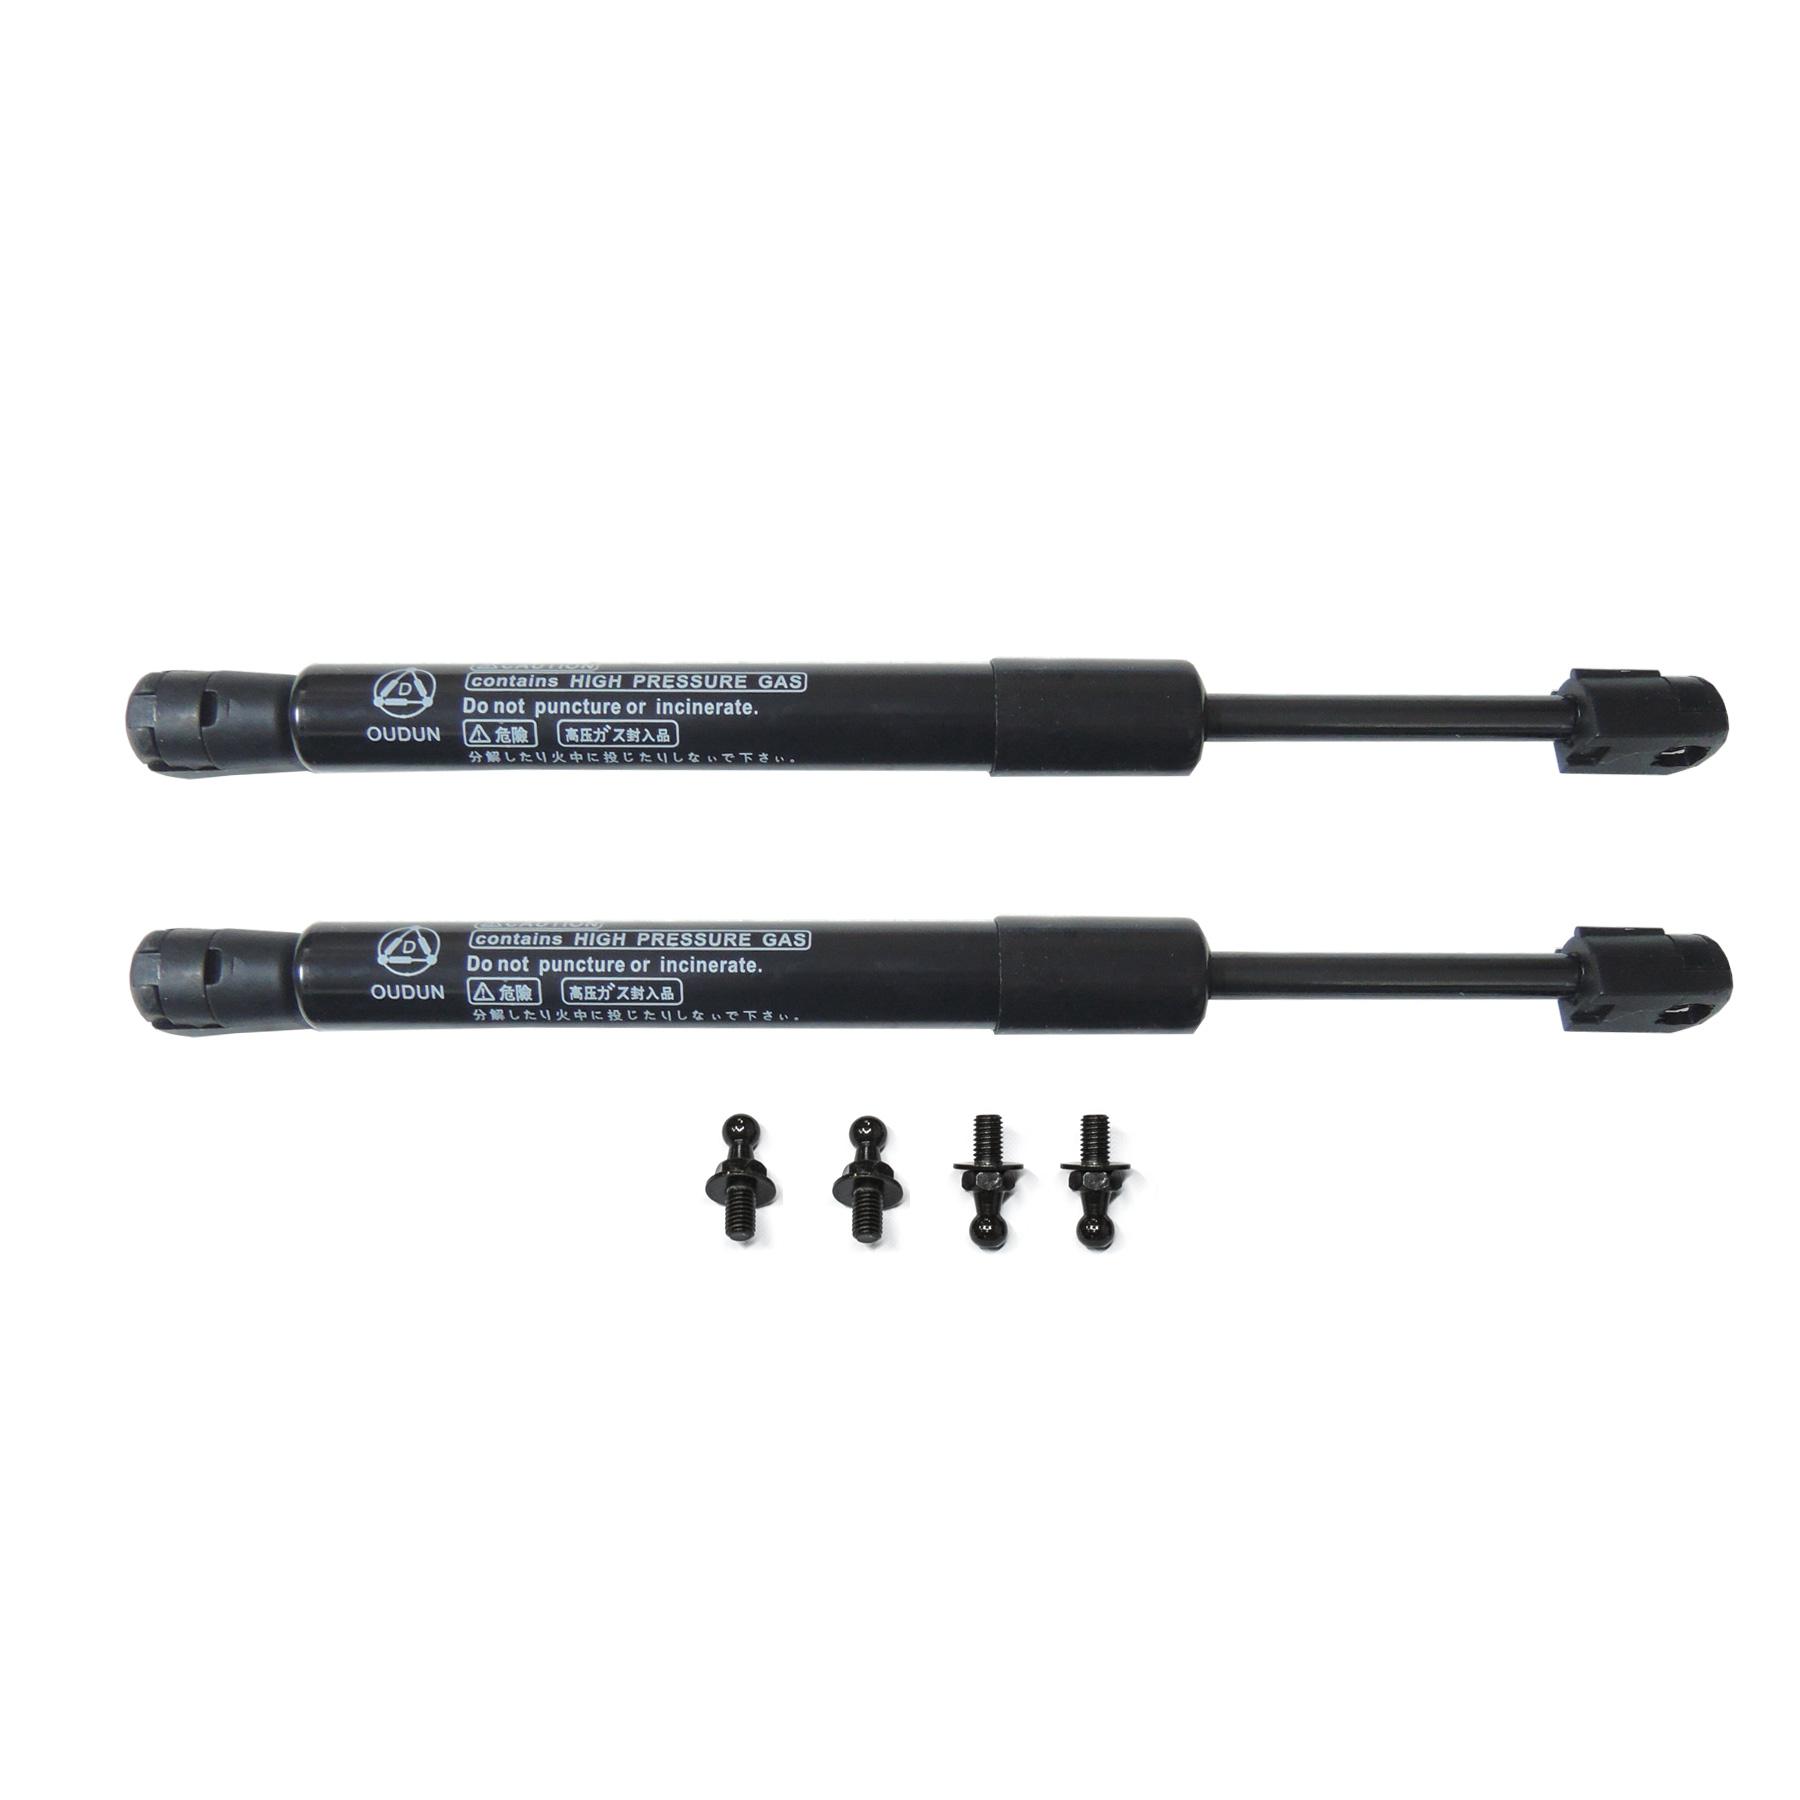
2pcs New Front Left+Right Hood Lift Supports
Location
Front Hood Left+Right
Parameters
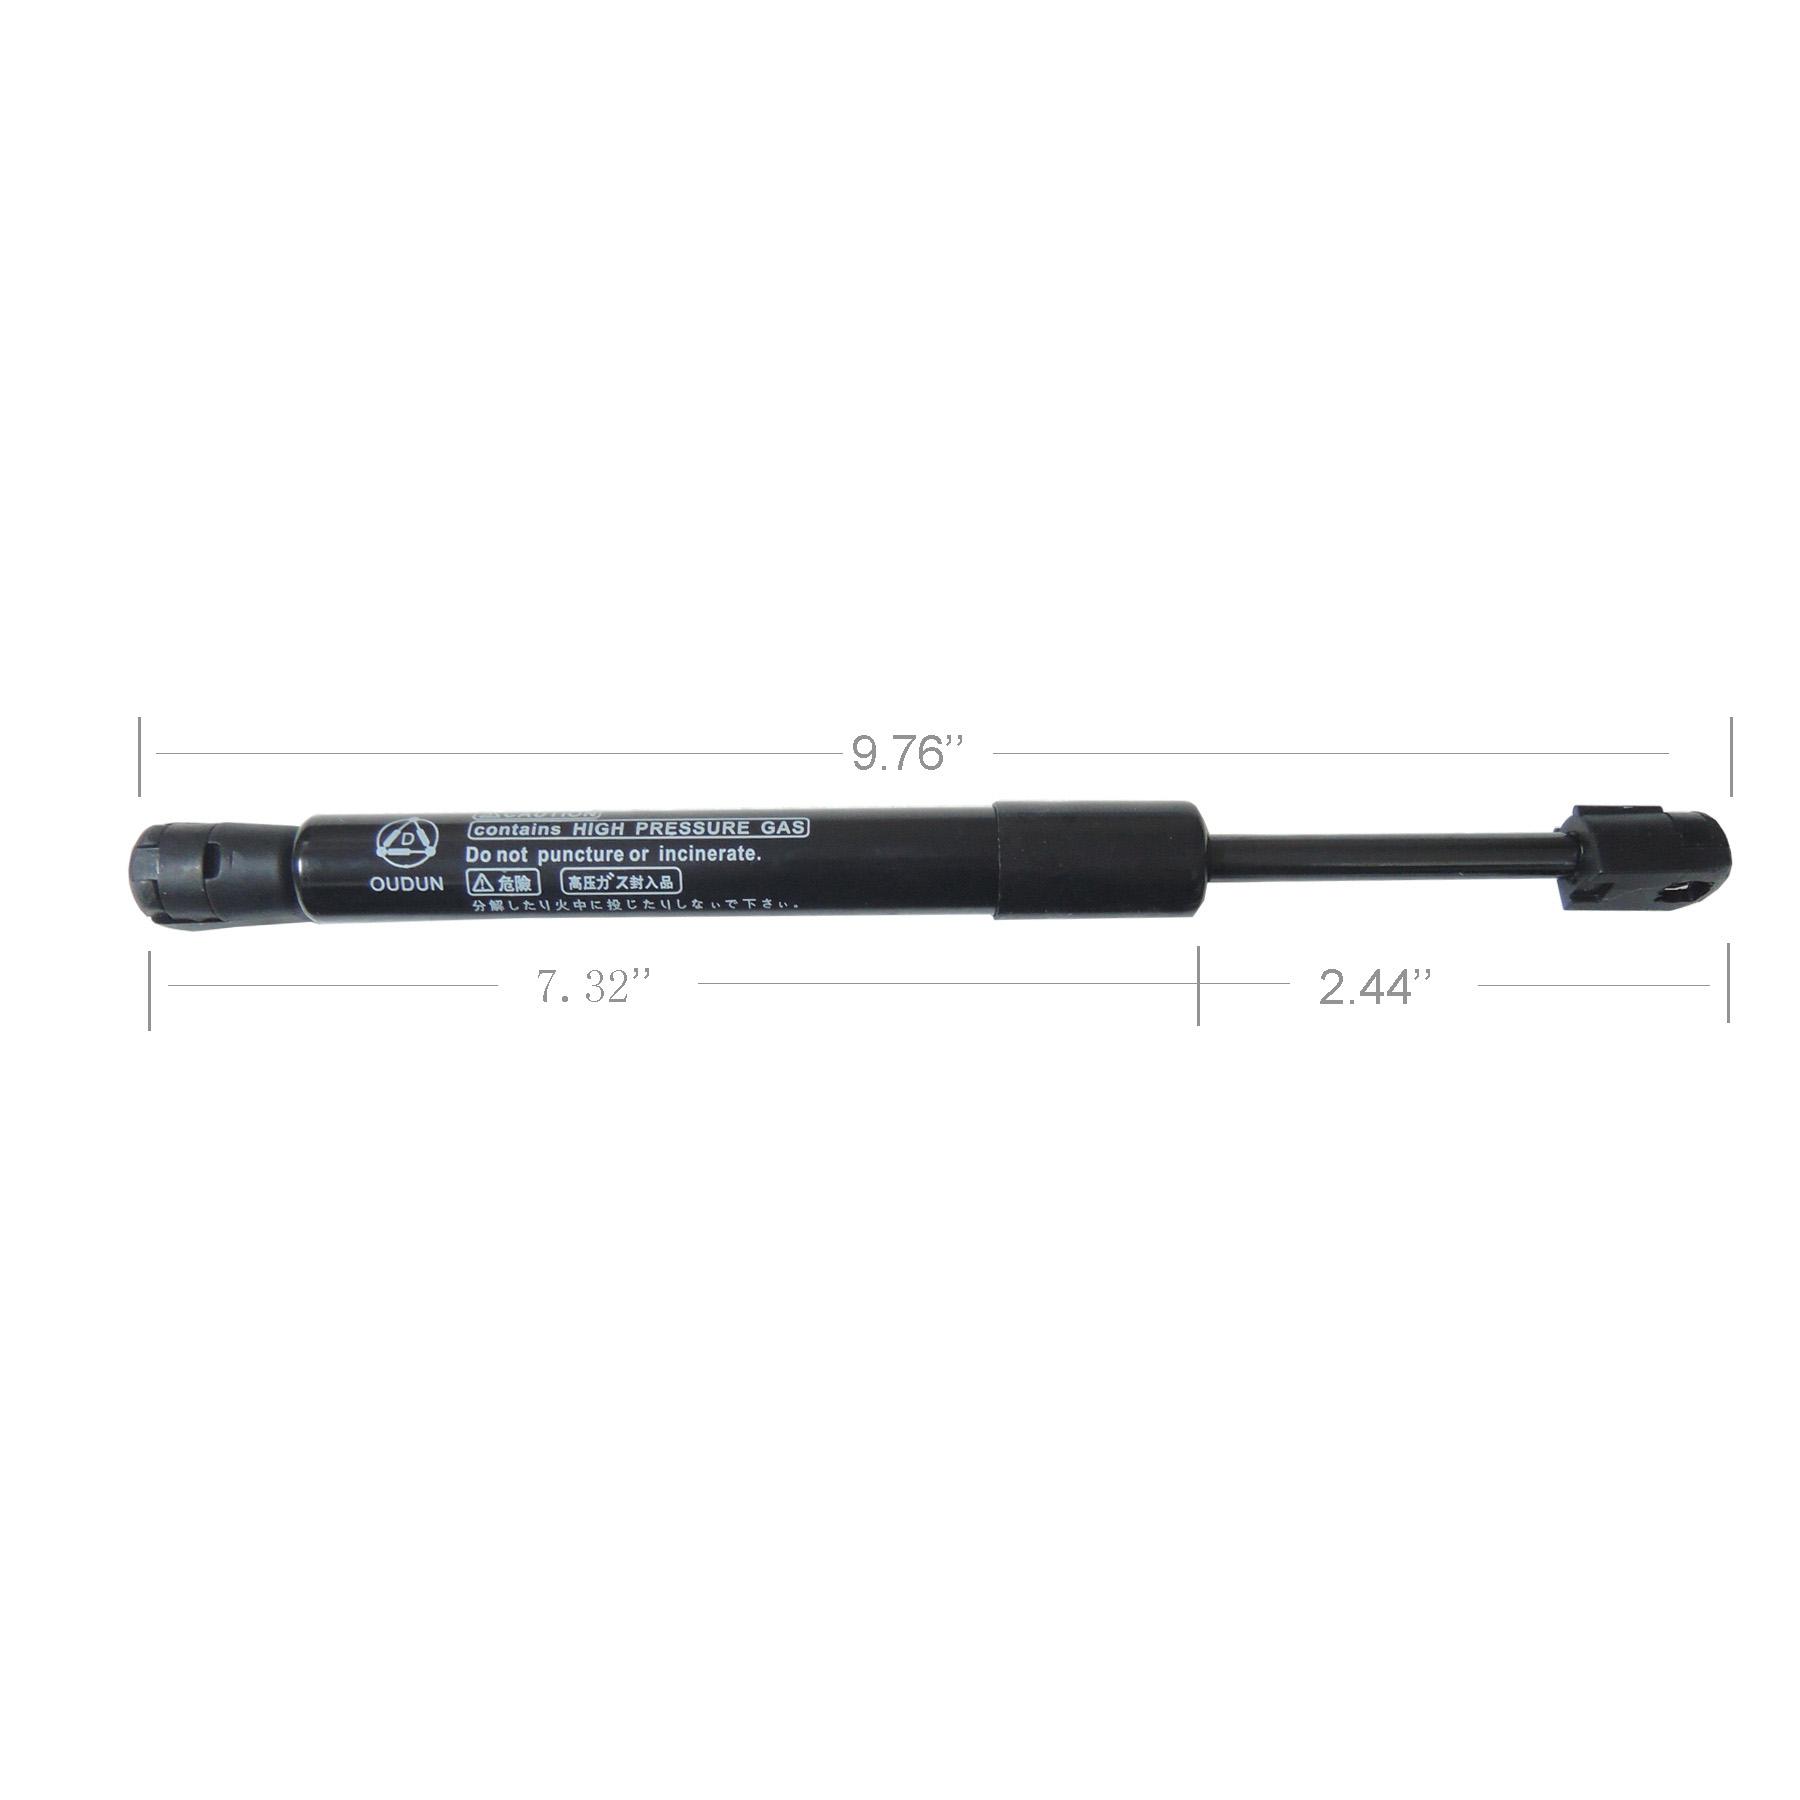
Extended Length: 283mm
Stroke Length: 105mm
Compressed Length: 198mm
Material
Steel
Cross-reference:
SG404020
Warranty
1 Year's Warranty
Color
Black
Installation-instructions
Always replace both lift supports to ensure top performance and to prevent twisting caused by uneven loading.
1. Turn off ignition. If old lift support has a window demister electrical connection, carefully disconnect the fittings.
2. Before removing old lift supports, examine any fittings supplied to determine which components must be re-used.
3. Have someone hold the hatch, bonnet, boot or rear window open while replacing the lift supports.
4. Loosen the fasteners, remove one end while being prepared to fight the pressure in the strut, move the end so it's away from the bodywork, remove the other end, install that end of the new one, wrestle the other end into place and tighten up.
5. Make sure all connectors and hardware are in place, tight and secure. Reconnect electrical terminals at both ends of the gas-charged lift support, if applicable to your car. Retain plastic end caps, if applicable to your car.